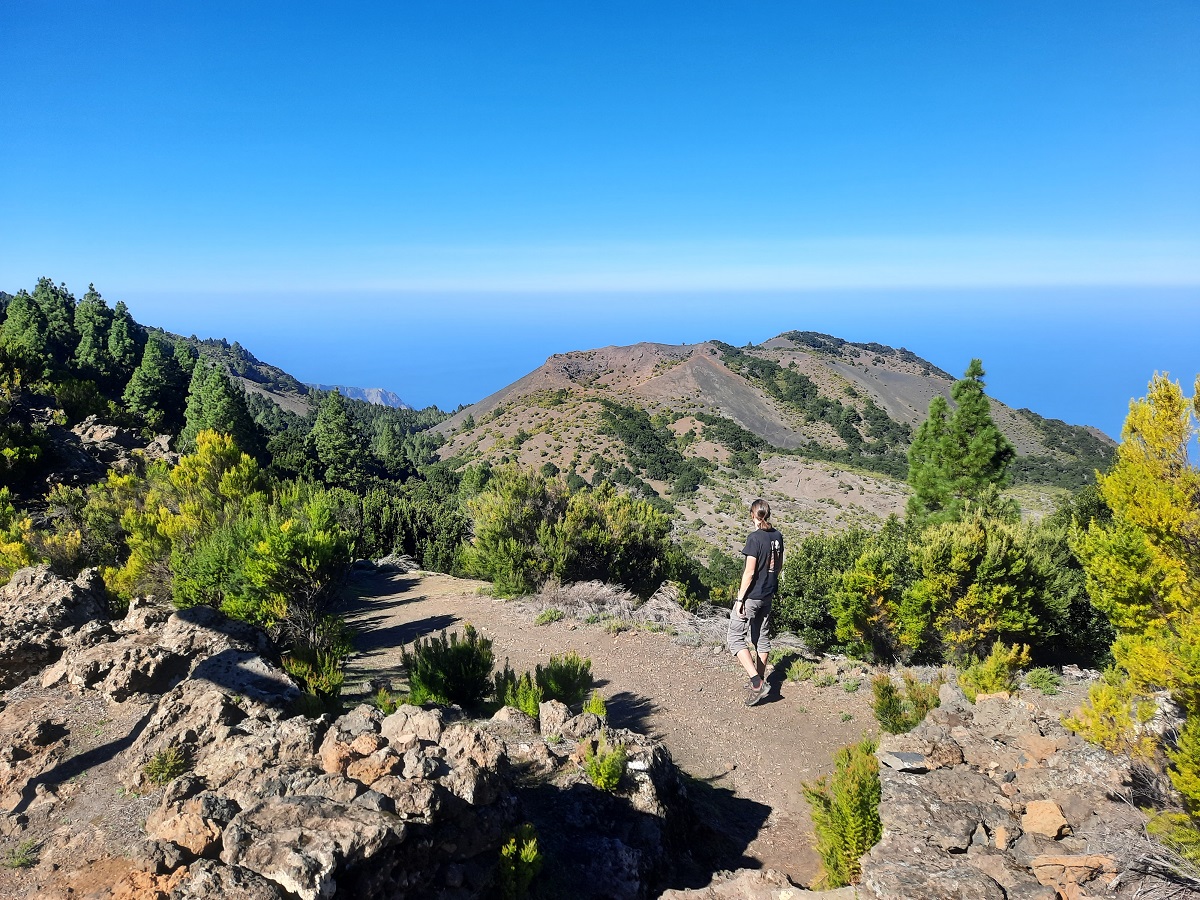
The spectacular 28km or 17mi. long Camino de la Virgen was by far our favourite hiking trail on El Hierro. It runs once across the entire island and crosses lots of different landscapes from green pastures to pine forest to bare volcanic mountain tops to humid laurel forests.
The camino also plays a major part in the most important festival on the island. Every four years the statue of the Virgin Mary is carried along this trail from its home in the Ermita de la Virgen to the Iglesia de la Concepción in Valverde during the Bajada de la Virgen Procession.
We came at a different time and had almost the entire trail completely to ourselves, so we could enjoy the awesome landscape in peace. Here’s everything you need to know about walking the Camino de la Virgen.

This post may contain affiliate links, and I might earn a small commission at no additional cost to you. For more info, click here.
A Description of the Hike
Ermita de la Virgen to La Gorona Viewpoint
The trail starts at the Ermita de la Virgen sanctuary. See the ‘Practicalities’ section below on how to get to the trailhead. The sanctuary is a pretty whitewashed, walled church compound that is home to the statue of the Virgin Mary, which is carried over the island during the Bajada de la Virgen Festival.
The church only opens at 10am, however, so if you want to get an early start, you might want to check it out on a different day or just have a look from the outside.
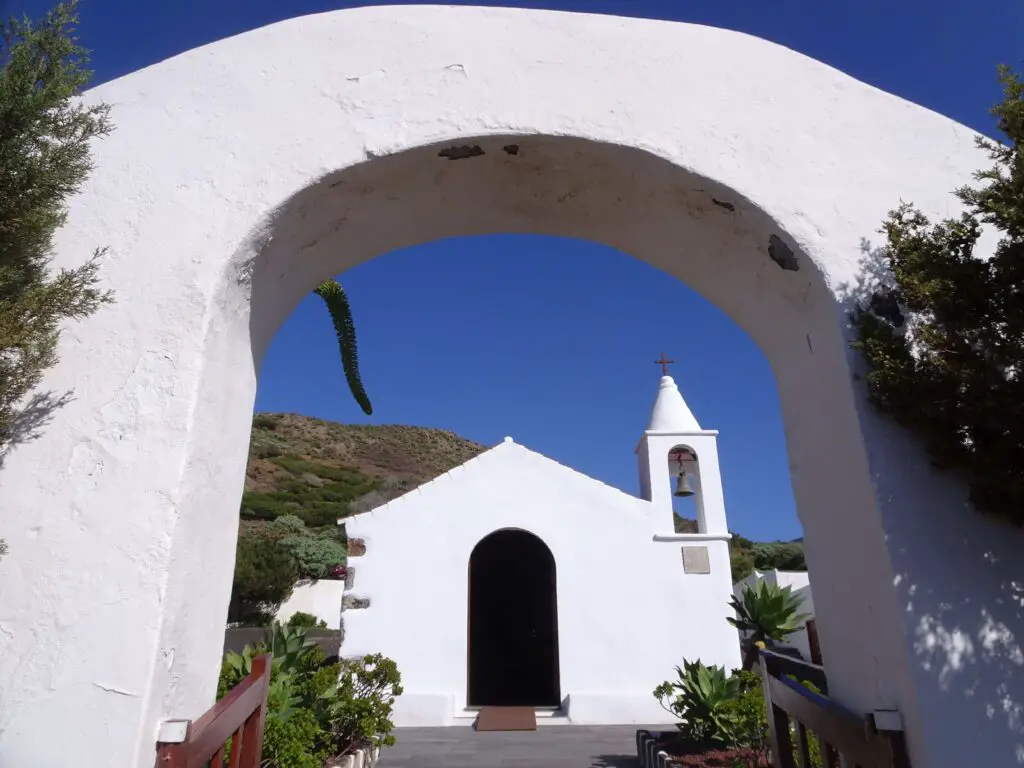
After walking north for a few minutes, the trail passes the Piedra de los Regidores, a big stone slab on top of which the statue is traditionally placed at the beginning of the Bajada Procession. The start of the trail is also its steepest part, as it slowly climbs through a beautiful landscape of green pastures.
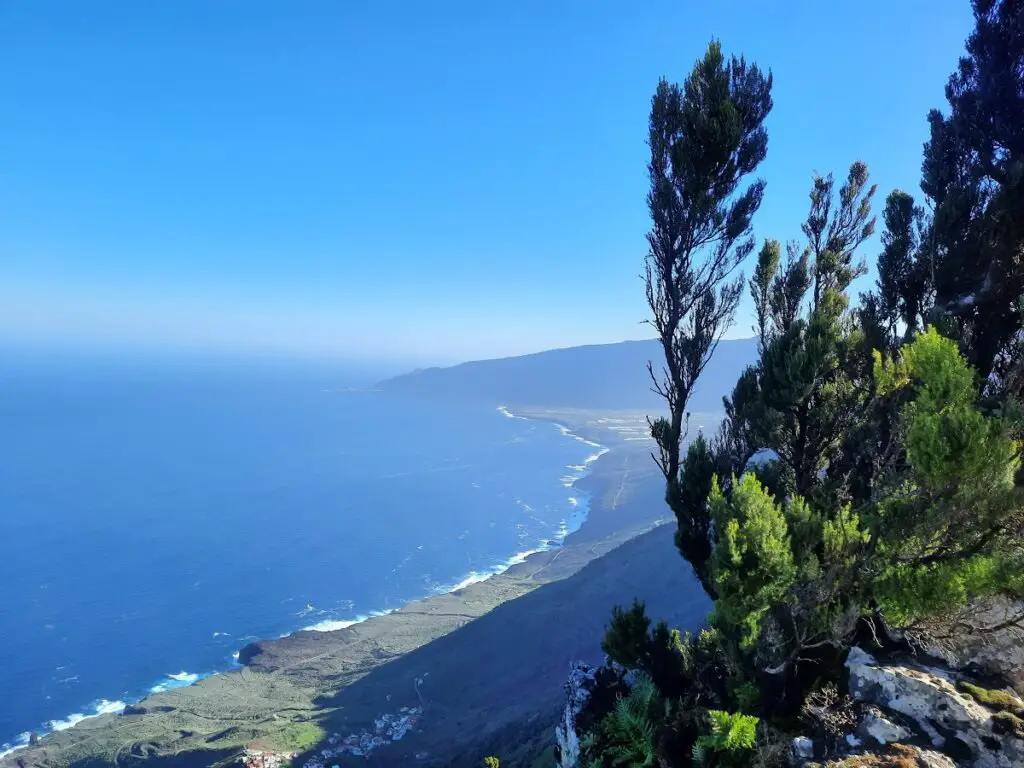
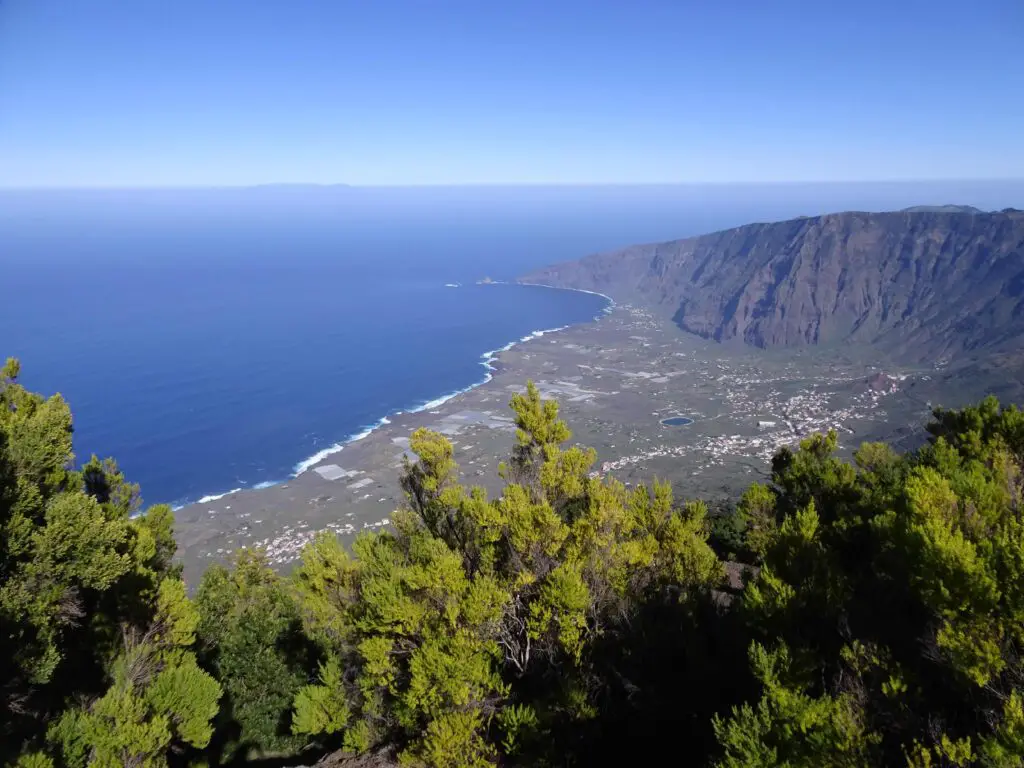
Fortunately, the awesome views gave us an excuse to stop once in a while to have a look around. We also spotted plenty of Canary birds and hawks hunting for prey over the fields. After a while, the trail passes the La Gorona viewpoint, which has some amazing views over the Golfo Valley on the northern side of the island.

El Hierro Hotel Tips
Budget: Hotel Boomerang
Midrange: Apartments at El Sitio
Luxury: Hotel Puntagrande (pictured)
.
La Gorona Viewpoint to Malpaso
From here on out the trail still climbs steadily, but not as steeply as before. It follows mostly old shepherd’s footpaths that were used to access the communal herding grounds of La Dehesa. Eventually, there’s a cattle gate after which the trail runs through the pretty pine-studded slopes of the Tajusara mountain.
After a while, you’ll pass a small wooden cross on your right. This is the Cruz de los Humiladores, which was supposedly erected by a traveler who fell ill on the way to America, and was cured on the island.
It’s also said to be the last spot on the trail from which you can see the Ermita de la Virgen, although the pine trees growing around the cross made it quite hard for us to see it from here.
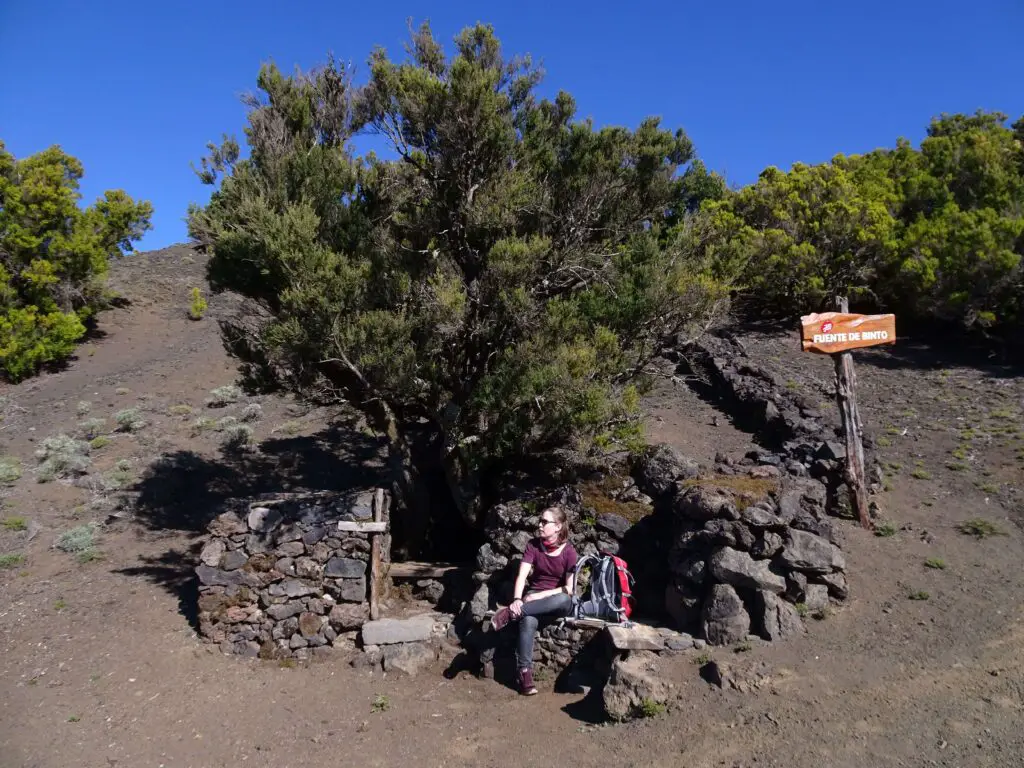
After passing through a pretty stretch of forest, you’ll come to the Fuente de Binto, which is a pretty spring that is shaded by a juniper tree (no drinking water, unfortunately). There are some really good views down the southern slope of the island in this part of the trail.
Sometimes you can also spot the Faro de Orchilla, the lighthouse at the south-western tip of El Hierro, which was considered the end of the world for a long time.
The next section was our favourite part of the hike. It runs through a half-open landscape of pine trees with really good views of the Tanganasoga mountain to the north, before it reaches the bare peak of the Malpaso mountain.
Malpaso to the Hoya de Fireba
At 1,501 m or 4,925 ft., the Malpaso is the highest mountain on El Hierro. There’s a plain marker on the summit and a viewpoint of the Golfo Valley. The best views are to the north towards Tigaday, La Frontera and the Mirador de la Peña.
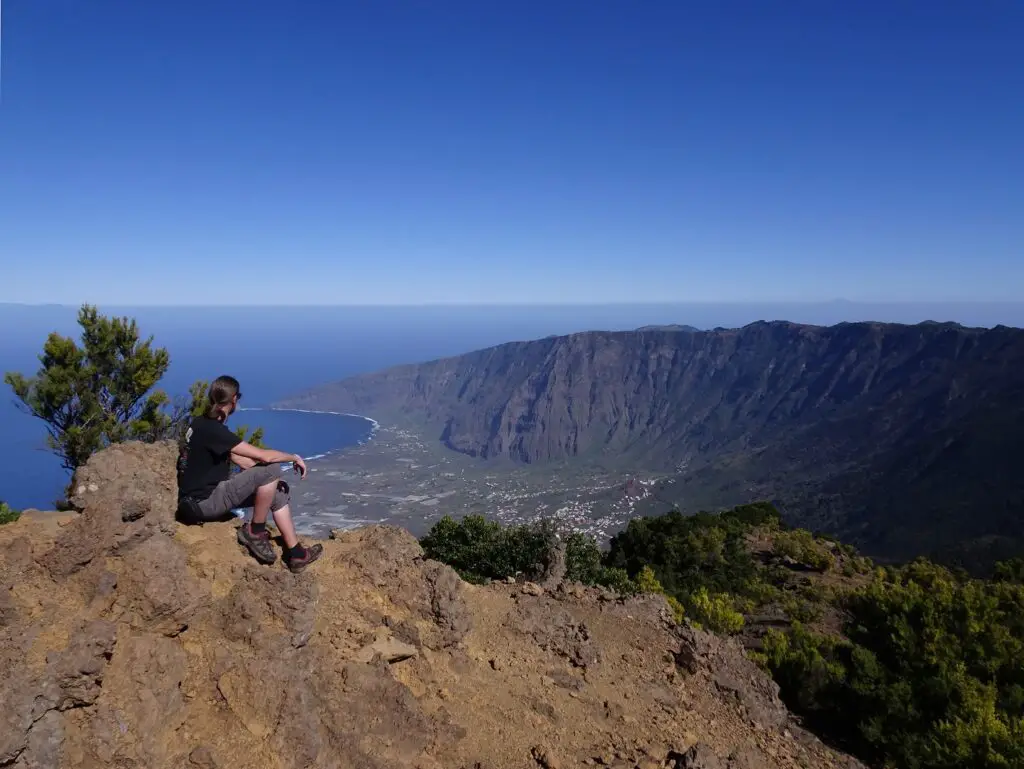
The great views continue on the way down the mountain. Some parts of the trail are quite steep here and the ground underfoot was loose when we were there, so take your time and make sure you don’t slip. I guess, there’s a reason for the name of the mountain (Malpaso means misstep in Spanish).
Finally, you’ll reach the Cruz de los Reyes, another wooden cross, but this time much bigger than the Cruz de los Humiladores. If you’re still fit and ‘on schedule’, you can also take a small detour (about 10 mins.) to the south to visit the Fuente Cruz de los Reyes, which is a natural spring in a super atmospheric grove of fire trees.
The actual trail continues east past the Cruz de los Reyes. If you look back west, you can see the Arado del Socialismo monument, which was erected in memory of the first free elections after the death of Spanish dictator Francisco Franco in 1975.
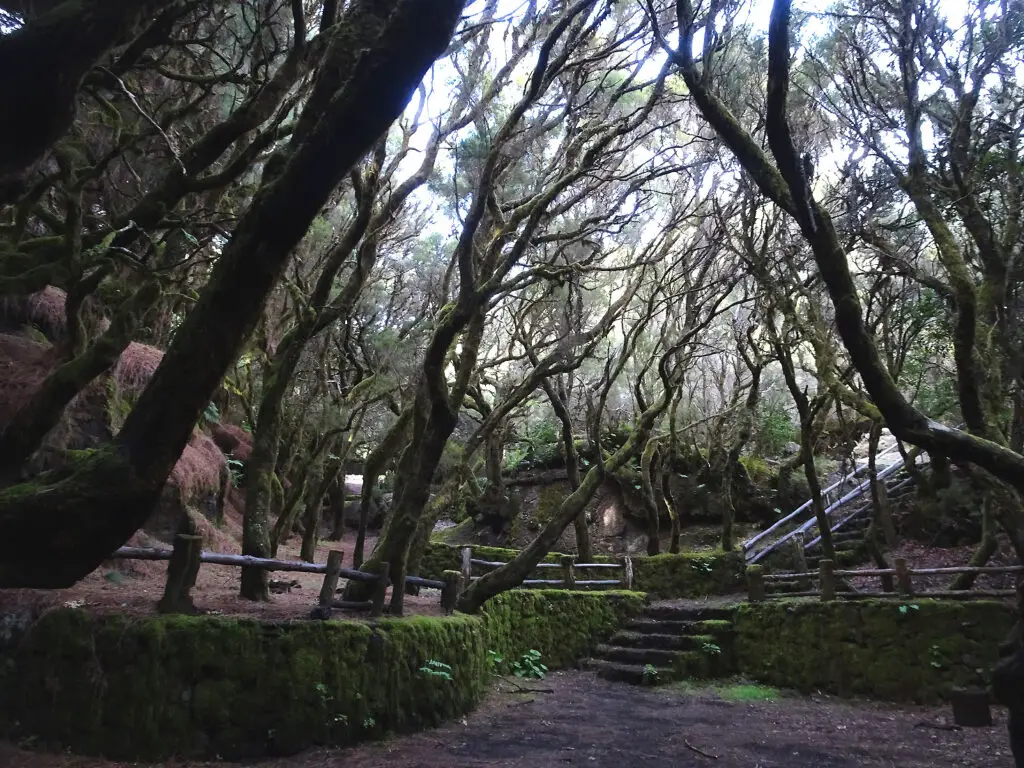
After a while, you’ll walk along the southern slope of the Tenerista Mountain before the trail joins with the asphalt road that runs through the center of the island.
There’s a nice viewpoint near the small Dos Hermanos rock formations which has a rare bench (we didn’t come across many on the trail). This spot marks the approximate half-way point of the hike.
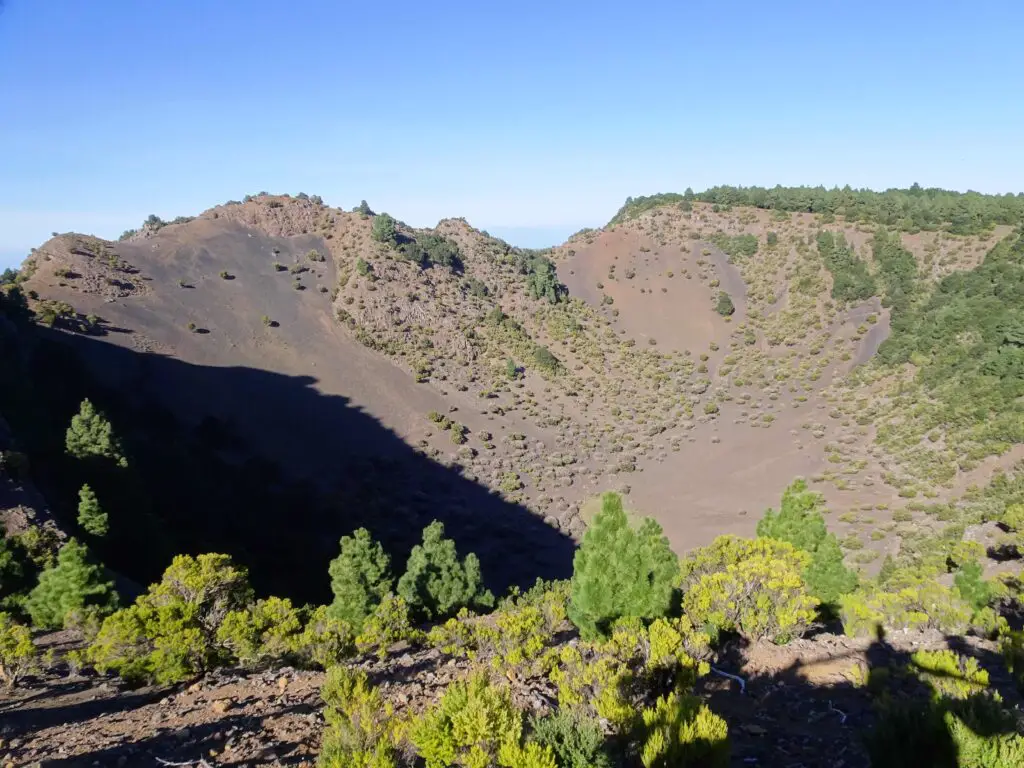
For the next bit, you’ll follow the road until you come to an intersection at the Fuente de la Llanía. The trail then continues next to the road and runs through the magical laurel forest of La Llanía before it reaches the Hoya de Fireba, the biggest volcanic crater on the island.
Hoya de Fireba to Valverde
After passing the impressive crater of Hoya de Fireba, you’ll cross the road and walk past a meadow with several picnic tables before passing through a cute fruit orchard.
The next part of the trail runs through a pretty hilly landscape that is dotted by pine trees before it reaches a series of feeder roads through the cow pastures near San Andrés.
If you’re completely beat, this is where you could end your hike by turning right (south) to San Andrés. Here you’ll find some restaurants, shops and a bus stop that is served by Bus 2, which runs between Valverde and El Pinar.
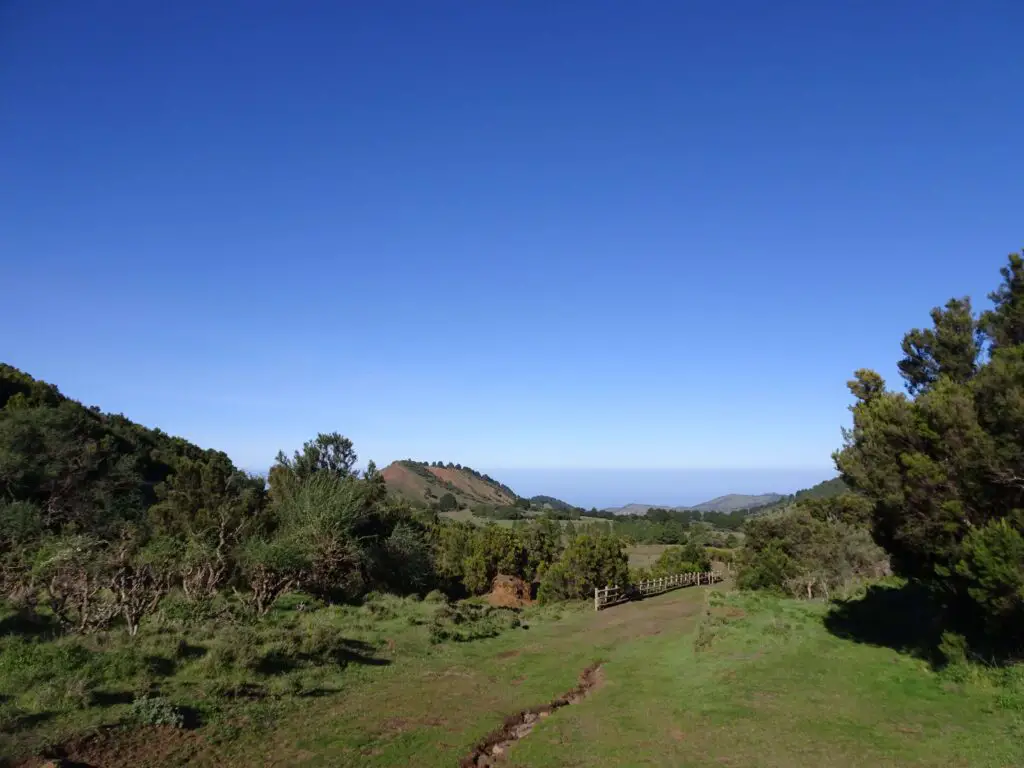
If you’re still feeling fit, you can continue east through the forest and past the abandoned village of La Albarrada. We found this to be quite an atmospheric place with its collapsed stone buildings overgrown by prickly pear cacti.
Keep following the farm roads before crossing the highway and descending into the tiny village of El Tiñor, which has a pretty little church and some nice, flowery front yards.
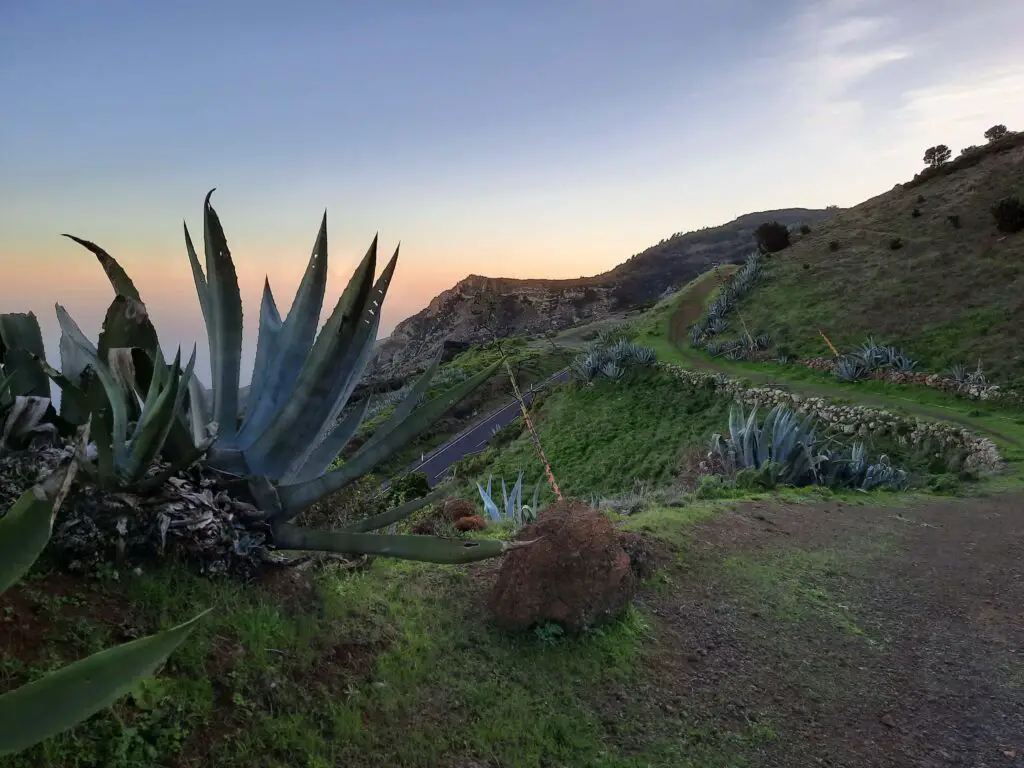
The last part of the trail runs close to the highway along small footpaths that are flanked by some enormous agave plants. After crossing the highway for a final time, you’ll descend a steep, rocky path.
This steep section was the final test for our legs, which, to be honest, were quite sore by now. Don’t worry, though, because five minutes later the trail already enters Valverde, where it ends at the main square near the Iglesia de la Concepción.
Map of the Camino de la Virgen
This map of El Hierro shows the trail of the Camino de la Virgen and the various points of interest along the way.
Elevation Profile
Below you can check the elevation profile for the hike. As you can see, the trail climbs steadily for the first 10km (6mi) with an elevation gain of about 800m (2,600 ft) and then descends almost constantly the entire rest of the hike.

Practicalities
How to Get to the Trailhead?
The hike starts at the Ermita de la Virgen Sanctuary in the uninhabited western part of the island. You won’t find any public transport to the start and it’s not a loop trail, so driving there by rental car won’t work either.
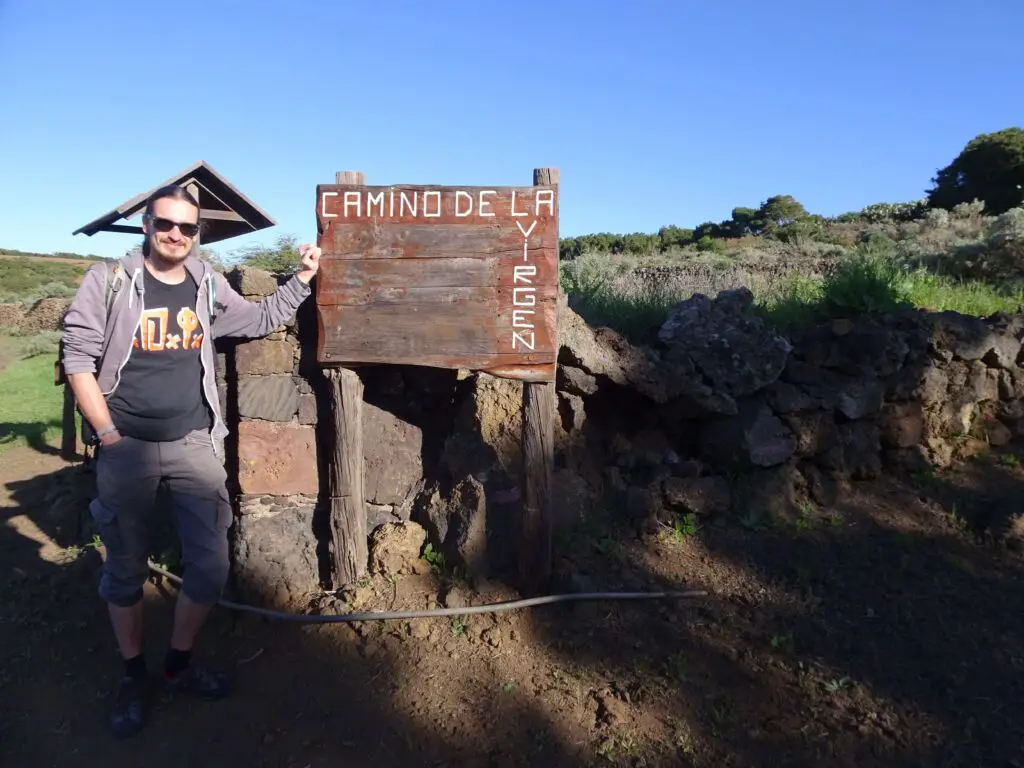
That leaves you with the option to take a taxi to the trailhead. A trip from Valverde should cost about 50€, but you can cut your costs significantly by taking the bus to El Pinar (you can check the connections on this website) and hiring a taxi from there.
That way, Stefanie and I paid about 25€ for the one-way trip to the start of the Camino. Make sure to call ahead and reserve your taxi at least the day before.
The hike ends in Valverde, so getting away is much easier than getting to the trailhead.
How Long Does the Hike Take?
Hiking the Camino de la Virgen is a whole-day affair. Depending on your level of fitness and how often you take breaks, I suggest planning between 7 and 10 hours for the entire hike.
Stefanie and I, who are reasonably fit but not super used to long-distance hikes, spent a little over 8 hours to finish.
What to Bring
The first two thirds of the hike run through completely uninhabited territory, so you need to make sure to bring enough water (at least 3 litres per person). We did pass a couple of springs on the way, but all of them had no drinking signs attached. A coke or other soft drink for that sugary energy boost is also a good idea.
You’ll also need enough food for about 5 to 6 hours at least, as the first possible place to stock up on snacks and drinks would be San Andrés, which you’ll pass after about 20 km or 12 mi. (plus going there would require a small detour).
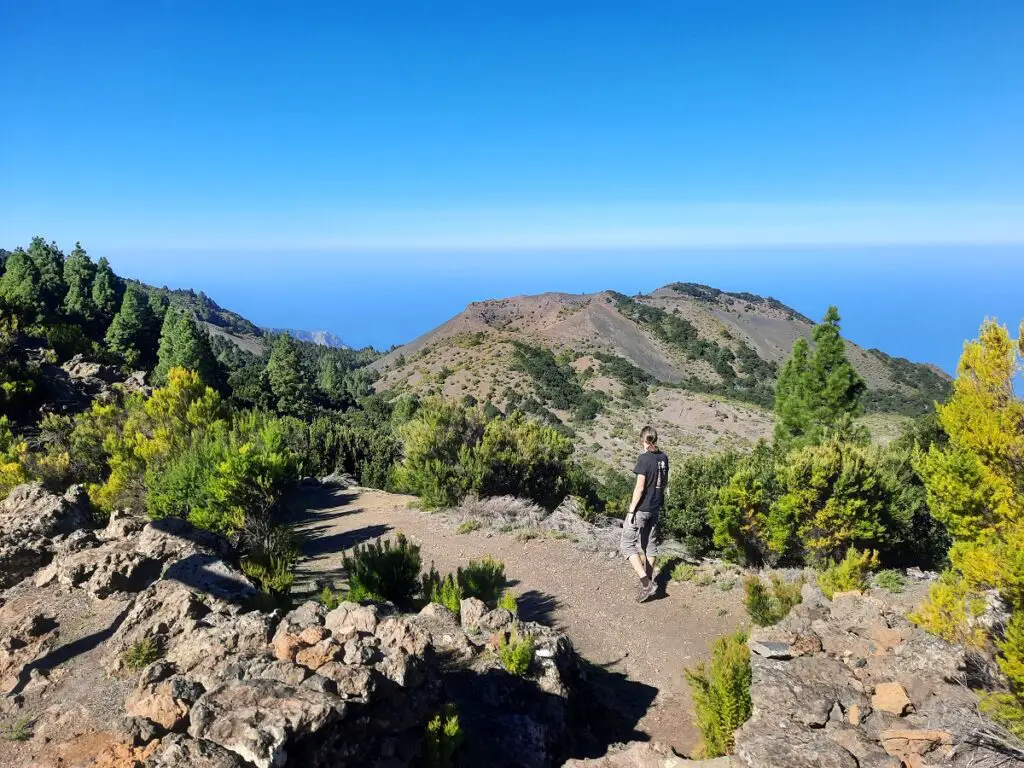
Also, make sure to bring a jacket, even if it’s warm and sunny when you’re starting. The trail runs through the highest parts of the island, and it can get quite windy up there.
What Else to Do on El Hierro
15 Unmissable Things to Do on El Hierro, the Canary Island’s Hidden Gem
The Ultimate Three Day Itinerary for El Hierro, Canary Islands